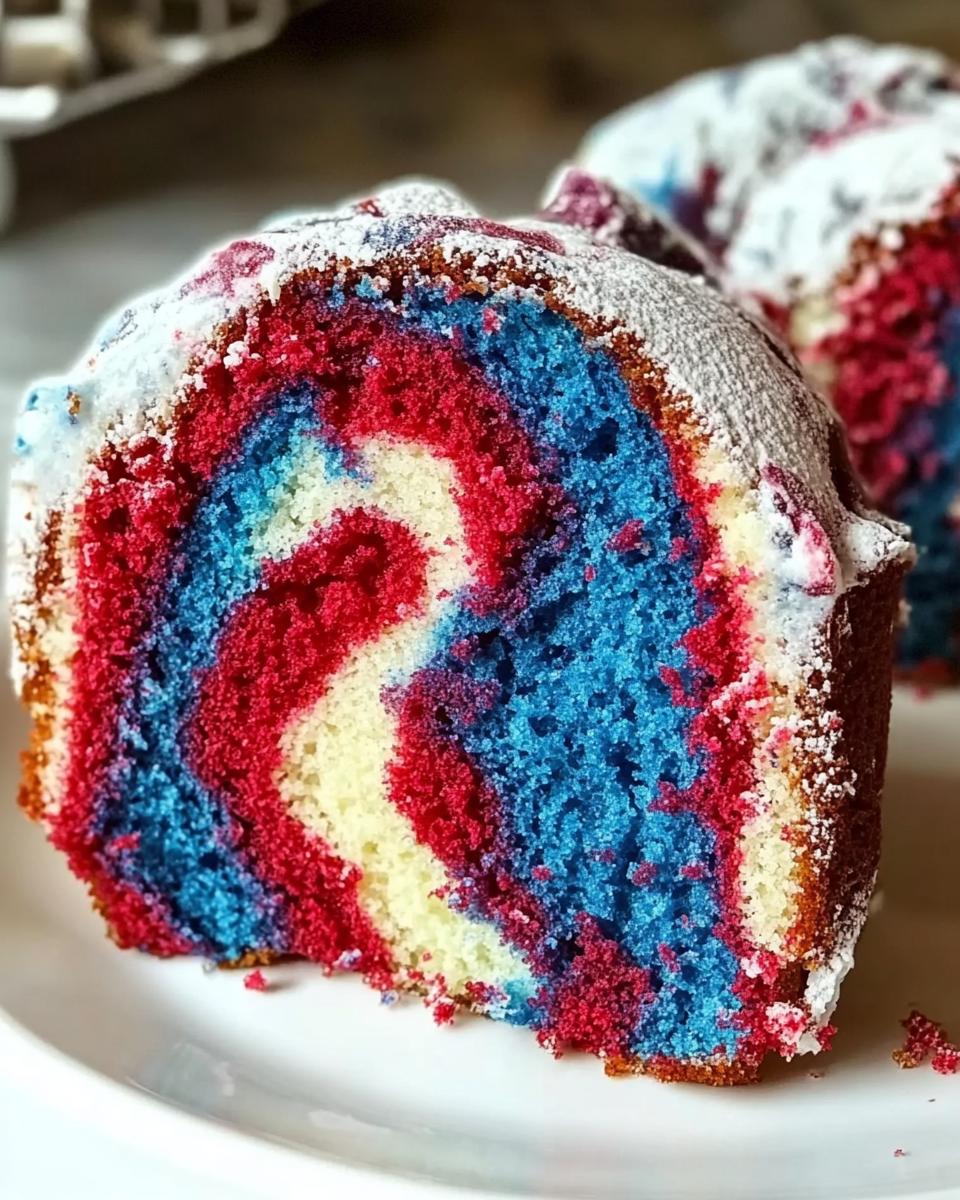
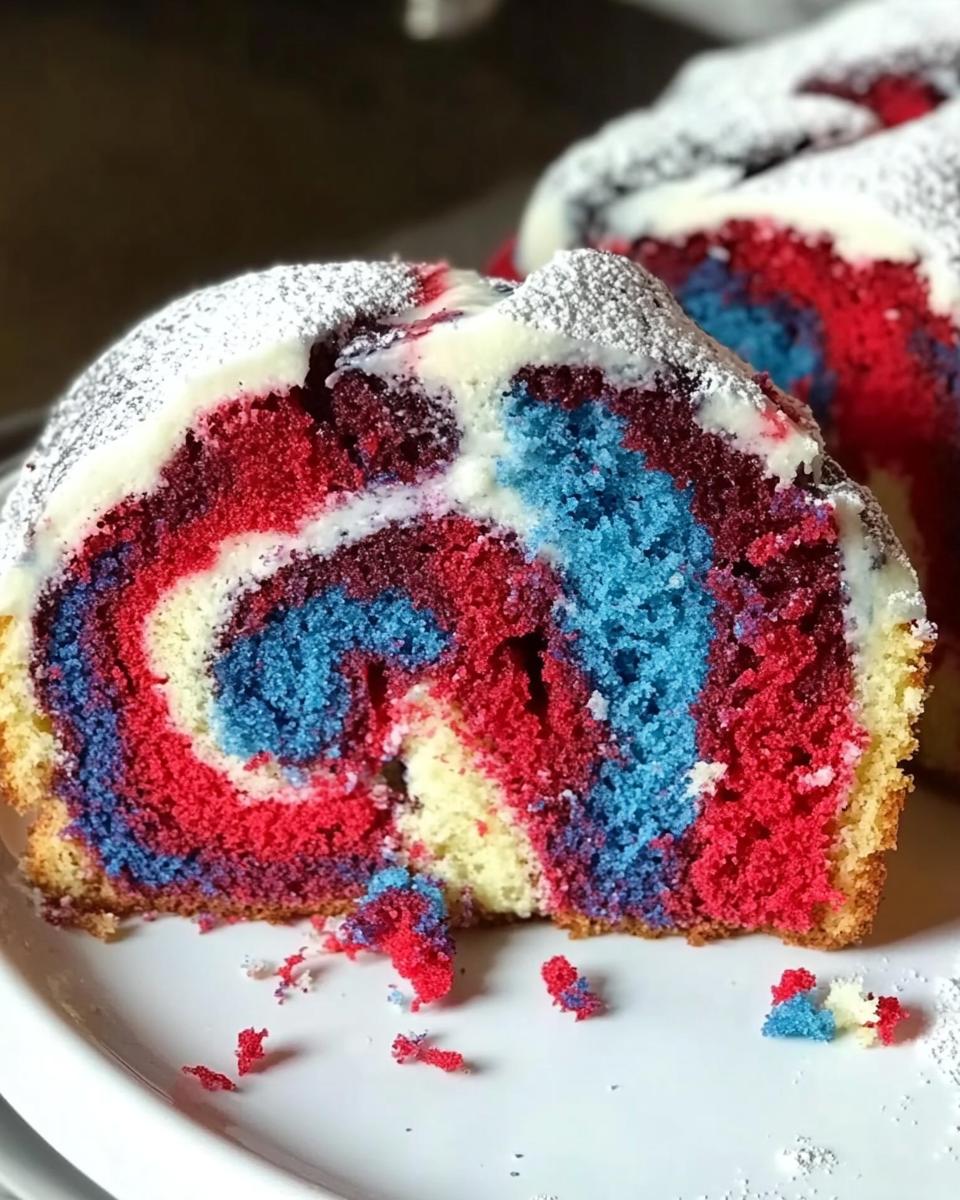
Oh, marble cake – just saying those words takes me back to my childhood! There’s something magical about slicing into that gorgeous swirl of colors, revealing those beautiful red and blue streaks against the vanilla backdrop. This isn’t just any cake – it’s a showstopper that looks like you spent hours decorating, when really, the marbling does all the hard work for you.
I’ve been making this exact marble cake recipe for years, ever since my aunt passed down her trusty Bundt pan along with her secret for getting those perfect, distinct swirls. The combination of vanilla and buttermilk gives it this incredible tenderness you won’t find in store-bought versions. And those vibrant colors? They’re guaranteed to make anyone’s eyes light up when you bring it to the table.
What I love most is how this cake manages to be both fancy and comforting at the same time. It’s perfect for birthdays and holidays, sure, but honestly? Tuesday afternoons deserve cake too. Let me show you how simple it is to make this beauty at home!
Why You’ll Love This Marble Cake
Trust me, this isn’t just another cake recipe – it’s the one you’ll keep coming back to! Here’s why:
- Easy as pie (but way prettier): The marbling does all the fancy work for you – no decorating skills needed!
- Total showstopper: Those vibrant swirls make every slice Instagram-worthy without any effort.
- Perfect for any occasion: From birthdays to “just because” days, this cake makes everything feel special.
- Flavor magic: The buttermilk keeps it moist while the vanilla gives it that classic, comforting taste.
- Nostalgia in every bite: It’ll transport you right back to childhood kitchen memories.
Seriously, one bite and you’ll understand why this is my go-to cake recipe year after year!
Ingredients for Marble Cake
Okay, let’s talk ingredients – the building blocks of this gorgeous cake! I’ve learned the hard way that quality and temperature matter here, so don’t skip the prep notes. Here’s what you’ll need:
- 1 cup butter at room temperature – Softened butter creams like a dream. Leave it out for 30-60 minutes before baking.
- 2 ½ cups granulated sugar – For that perfect sweetness that doesn’t overpower.
- 1 tablespoon vanilla extract – Pure vanilla makes all the difference here.
- 2 large eggs + 4 large egg whites at room temperature – Room temp eggs incorporate better, promise!
- 1 cup buttermilk at room temperature – The secret to that tender crumb. No buttermilk? Make your own with milk + vinegar!
- 3 cups cake flour – Lighter than all-purpose for a delicate texture.
- 2 teaspoons baking powder + ½ teaspoon salt – Our rising agents and flavor balancers.
- Gel food coloring (red & blue) – Gel gives vibrant colors without thinning the batter.
See? Nothing too fancy – just good ingredients prepped right. Now let’s make some magic!
Equipment You’ll Need
Don’t worry – you won’t need any fancy gadgets for this marble cake! Just grab these basics from your kitchen:
- Stand mixer or electric hand mixer – A lifesaver for creaming that butter and sugar to perfection.
- 12-cup Bundt pan – The signature swirl shape makes this cake extra special.
- Measuring cups & spoons – Precision matters for consistent results.
- 3 mixing bowls – One for the main batter, plus two for coloring.
- Spatula – For scraping down the bowl and smoothing batter.
That’s it! Now you’re ready to create some marbled magic.
How to Make Marble Cake
Ready to create some marbled magic? I’ll walk you through every step – it’s easier than you think! Just follow along and soon you’ll have that gorgeous swirl pattern that makes everyone say “wow!”
Preparing the Batter
First things first – preheat your oven to 350°F. While it’s heating up, let’s make the batter that’ll become our canvas for those beautiful colors!
- Grab your stand mixer (or trusty hand mixer) and beat the softened butter and sugar together. We want this light and fluffy – about 3 minutes should do it. You’ll know it’s ready when it looks almost whipped!
- Now for the eggs – add them one at a time, mixing well after each. Scrape down the bowl with a spatula – those sneaky bits at the bottom love to hide from the mixer!
- Pour in that glorious vanilla and mix until combined. Your kitchen should smell heavenly by now!
- Alternate adding the buttermilk and dry ingredients (flour, baking powder, salt). Start and end with dry – this keeps everything smooth and lump-free. Mix just until combined – overmixing is the enemy of tender cake!
Coloring and Layering the Batter
Here comes the fun part – let’s make those signature swirls!
- Scoop out 1½ cups of batter into each of two bowls – one for red, one for blue. Keep the remaining batter plain (that’s our vanilla base).
- Add gel food coloring to each bowl – start with a little, you can always add more! Stir gently until the colors are vibrant and uniform.
- Now the artistic part: Spoon about ¼ cup of plain batter into your greased Bundt pan. Alternate with dollops of red and blue batters, working your way around the pan. Don’t overthink it – random placement creates the best marbling!
- When all batter is used, give the pan a couple gentle taps on the counter to settle everything. Whatever you do, resist stirring! We want distinct swirls, not muddy colors.
Baking and Cooling
Now we let the oven work its magic – but patience is key here!
- Bake for 50-70 minutes. Around the 50-minute mark, start checking with a toothpick – it should come out clean when inserted near the center.
- The cake should be golden and pulling slightly from the pan’s edges. Another test? It should spring back when lightly pressed.
- Let it cool in the pan for 15 minutes – no cheating! Trying to remove it too soon can cause breakage.
- After cooling, place a wire rack over the pan and flip. If it doesn’t release immediately, give it a minute – gravity helps!
- Let cool completely before slicing. I know it’s tempting, but cutting too soon makes for messy slices!
Tips for the Perfect Marble Cake
After years of testing (and eating!) marble cakes, I’ve picked up some tricks that make all the difference:
- Gel coloring is key: Liquid food coloring waters down the batter – gel gives those vibrant streaks without changing texture.
- Temperature matters: Room temp ingredients mix evenly. Cold eggs or buttermilk can make your batter curdle – yikes!
- Grease like a pro: Butter your Bundt pan well, then dust with flour. Missed spots? Say hello to stuck cake.
- Layer boldly: Don’t be shy with those colored batters – big dollops create bolder swirls.
- The toothpick truth: If it comes out with moist crumbs, it’s done. Clean? You’ve overbaked it.
Follow these and your marble cake will turn out bakery-perfect every time!
Variations of Marble Cake
Once you’ve mastered the classic, try these fun twists on the marble cake theme – they’re all winners in my book!
- Chocolate-vanilla swirl: Swap the colored batters for a chocolate version (just add 1/4 cup cocoa powder to half the batter).
- Citrus kick: Add lemon or orange zest to the vanilla batter for a bright, fresh flavor.
- Natural colors: Try beet powder for red and spirulina for blue if you prefer natural dyes (just expect softer hues).
The best part? You can mix and match these ideas to create your own signature marble cake!
Serving and Storing Marble Cake
Here’s how to keep your marble cake tasting fresh and looking fabulous:
- Serve at room temp: Flavors shine when the cake isn’t cold – take it out of the fridge an hour before serving.
- Slice with care: Use a sharp knife and wipe between cuts to keep those swirls picture-perfect.
- Store it right: Keep leftovers in an airtight container at room temp for up to 3 days.
- Freeze like a pro: Wrap tightly in plastic, then foil – it’ll stay fresh for up to 3 months. Thaw overnight on the counter when cravings strike!
Marble Cake FAQs
Over the years, I’ve gotten so many questions about this marble cake recipe – here are the answers to the ones that pop up most often!
Can I use liquid food coloring instead of gel?
You can, but trust me – gel is worth tracking down! Liquid coloring adds extra moisture, which can throw off the batter’s texture. Gel gives those vibrant colors without making the batter too thin. If you must use liquid, reduce the buttermilk slightly to compensate.
Can I make marble cupcakes instead?
Absolutely! Just fill cupcake liners about 2/3 full with alternating scoops of colored batters. Bake at 350°F for 18-22 minutes. The marbling looks especially cute in cupcake form!
Why did my cake turn out dry?
Three likely culprits: overbaking (use that toothpick test!), overmixing (stop as soon as ingredients combine), or expired baking powder (it loses potency over time). Room temp ingredients also help prevent dryness.
Can I make this without a Bundt pan?
Of course! A 9×13″ pan works great – just adjust baking time to 30-40 minutes. The swirls won’t be quite as dramatic, but the flavor will still be amazing.
How do I get cleaner slices?
Use a sharp, thin knife and wipe it clean between cuts. Chilling the cake for 15-20 minutes before slicing helps too – those swirls will stay picture-perfect!
Nutritional Information
Just a quick note – these nutritional values are estimates that can vary based on your specific ingredients and brands. A typical slice of this marble cake contains a balance of carbs, proteins, and fats – but let’s be honest, we’re really here for that magical swirl and delicious flavor! For precise dietary needs, I’d recommend calculating with your exact ingredients.
Now that you know all my marble cake secrets – go bake up some colorful magic! I’d love to see your beautiful creations. Tag me if you share photos – nothing makes me happier than seeing others enjoy this recipe as much as I do!
Fore more recipes follow me on facebook and pinterest.
Print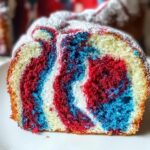
Magical Marble Cake Recipe in Just 7 Simple Steps
- Total Time: 80 minutes
- Yield: 1 Bundt cake 1x
- Diet: Vegetarian
Description
A classic marble cake with swirls of red and blue colors, combining vanilla and buttermilk flavors.
Ingredients
- 1 cup butter at room temperature
- 2 ½ cups granulated sugar
- 1 tablespoon vanilla extract
- 2 large eggs at room temperature
- 4 large egg whites at room temperature
- 1 cup buttermilk at room temperature
- 3 cups cake flour
- 2 teaspoons baking powder
- 1/2 teaspoon salt
- Red food coloring
- Blue food coloring
Instructions
- Preheat oven to 350 F. Grease and flour a 12-cup Bundt pan. Set aside.
- In the bowl of a stand mixer fitted with a paddle attachment (or with an electric mixer), beat together butter and sugar until well-combined.
- Add eggs and egg whites one at time, mixing well after each addition.
- Stir in vanilla until combined.
- Mix in buttermilk until well-combined.
- Add cake flour, baking powder, and salt.
- Stir in on low just until incorporated.
- For the red swirl, scoop out 1 ½ cups of the batter and place it into a separate bowl.
- For the blue swirl, scoop out an additional 1 ½ cups of batter and place it into a third bowl.
- Mix in the red food coloring into plain batter that you scooped out.
- Mix the blue food coloring into the other bowl of plain batter that you scooped out.
- Using a 1/4-cup measuring cup, drop one scoop of plain batter into prepared bundt pan.
- Using a separate scoop, drop 1/4 cup of red batter on top of plain batter.
- Using a third scoop, drop 1/4 cup of blue batter on top of the red batter.
- Continue to alternate between plain and colored batters until all three batters are gone.
- Give the pan a couple of taps to level out the batter, if necessary. Do not stir.
- Bake for 50-70 minutes, or until a wooden toothpick inserted into the center comes out clean.
- Cool cake in the pan on a wire rack for 15 minutes.
- Invert the cake onto wire rack, and cool completely.
Notes
- Use gel food coloring for vibrant colors.
- Room temperature ingredients mix better.
- Prep Time: 20 minutes
- Cook Time: 60 minutes
- Category: Dessert
- Method: Baking
- Cuisine: American
Nutrition
- Serving Size: 1 slice
- Calories: 350
- Sugar: 25g
- Sodium: 200mg
- Fat: 15g
- Saturated Fat: 9g
- Unsaturated Fat: 5g
- Trans Fat: 0g
- Carbohydrates: 50g
- Fiber: 1g
- Protein: 5g
- Cholesterol: 60mg
Keywords: marble cake, bundt cake, dessert, baking

